A DIY Guide to Suminagashi

If you follow us on Instagram, you might have noticed that the past few weeks we’ve been sharing more and more Suminagashi fun on our stories with behind the scenes videos and photos. “Sumi WHAT?!” you might be wondering….
Suminagashi
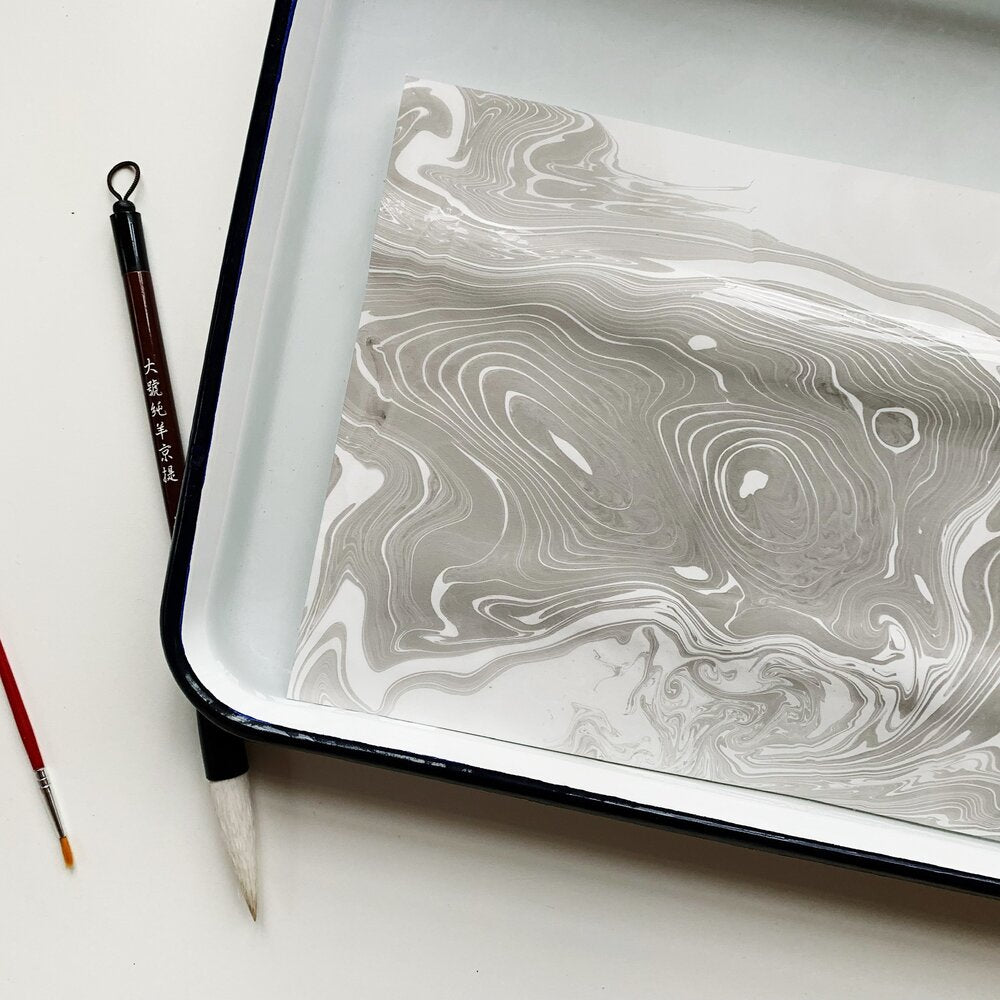
It’s Japanese for “floating ink” and refers to an ancient art form also know as water marbling. Japanese craftsmen (and women!) would use a special ink that floats on water to create patterns before transferring it to a sheet of paper. Pretty amazing, huh?!
We have had so much fun with this art form that we had actually planned on doing an in person class with our friends at State the Label in Athens, Georgia just a few weeks ago. However, with the developments of the COVID-19 pandemic that class, like most other in person events and activities, was canceled. Side note: You should totally visit State the Label to see what their amazing seamstresses are doing to help fill the growing need for masks at hospitals across the country!
So, in lieu of an in person class, and due to the overwhelmingly positive feedback you’ve shared with us, we are going to host a LIVE Suminagashi class from our studio this Thursday, March 26th at 12:30pm EST! Simply tune in on Instagram at our account @brownparcelpress during your morning coffee or lunch break!
UPDATE: Here is the link to watch our IGTV Suminagashi class we recorded!
First of all, let us just say that there is ZERO pressure to have any supplies on hand to participate on Thursday! Our hope is that by even just watching and learning, you’ll be inspired to tap into your creativity (yes, YOU!) and find some joy in the simply act of creating, making, and playing. However, if you do decide that you’d like to take a stab at it yourself (which we highly recommend), we hope you’ll find the following information helpful.

THE BROWN PARCEL PRESS GUIDE TO SUMINAGASHI
One of the nice things about suminagashi is you don’t need too many supplies. We were able to order all of the items we didn’t already have on hand off of Amazon. Since a little bit of ink goes a long way, they should last for quite sometime…unless you just go suminagashi crazy during this ‘stay at home’ time we find ourselves in.
SUMINAGASHI SUPPLIES:
-
A Sumi brush (3 Piece Set by Art Advantage) (Note: you will want one brush for each color of ink you use, alternatively just use as fine point paint brushes as you can find or have! confession: I often use crayola and kid made modern paintbrushes for this so no need to get fancy if you’re looking to save money on this)
-
Sumi Ink Kit (6 Color Kit or simply use Black Sumi Ink)
-
Dispersing Agent (we use Kodak Photo-Flo)
-
Large water tray (Tip: a cookie sheet, glass casserole dish or baking tray works great). We use this enamel tray in the demo.
-
Absorbent paper (We use our standard cotton paper, but anything for block printing, handmade, rice paper, get creative)
-
Mixing containers (small glass or plastic jars do the trick… even leftover cleaned yogurt containers)
-
Drying rack (We use the stovetop … burners off!)
DIRECTIONS:
-
Gather your supplies.
-
Cover your working surface with plenty of newspaper to catch any excess water or paint (especially if you’re doing this one with the kids!)
-
Fill your water tray with 1 to 2 inches of water (you can dip a finger in and fill it to about the base of your fingernail)
-
Prepare your ink in the ink palette (a tiny amount goes along way!)
-
Stir a teaspoon(ish) of the Photo-Flo into a cup of water and set aside.
-
Dip your designated ink brush into the ink to coat the tip of your brush. Then, being careful to keep your brush perpendicular to the water, touch the brush to the surface of the water trying not to go below the surface if possible. (it takes a little practice and some patience, and it WILL NOT ruin your suminagashi pattern if you do end up going below).*
-
Using a separate brush, dip it into the Photo-Flo solution and then dip into the center of the ink circle in your water tray.
-
With one brush in each hand, alternate between the ink and Photo-Flo to create circles (or you and your Sumi partner can take turns to make this a collaborative piece!)
-
Play and experiment with different colors and various areas in your water tray!
-
When you’re happy with the design, gently place your paper across the surface of the water. No need to “dunk” your paper you’re just trying to lay it across the water without any air bubbles.
-
Starting in one corner, carefully pull the paper off the water and rinse with water under the sink.
-
Lay flat to dry, rinse and reset your water tray, and you’re all set to start again!
Note: * you may have to go back and forth between the ink and the dispersant solution several times before you start to “see” much happening on the surface of the water… have faith!
Once the paper has dried, it’s time to admire your sumi creation! We love seeing how different each piece turns out and the various approaches everyone takes to working with the water, ink, and dispersing agent. Here are some ideas for what you can do with the final piece of marbled paper, but just remember - the sky’s the limit!
DISPLAY & GIFTING IDEAS:
-
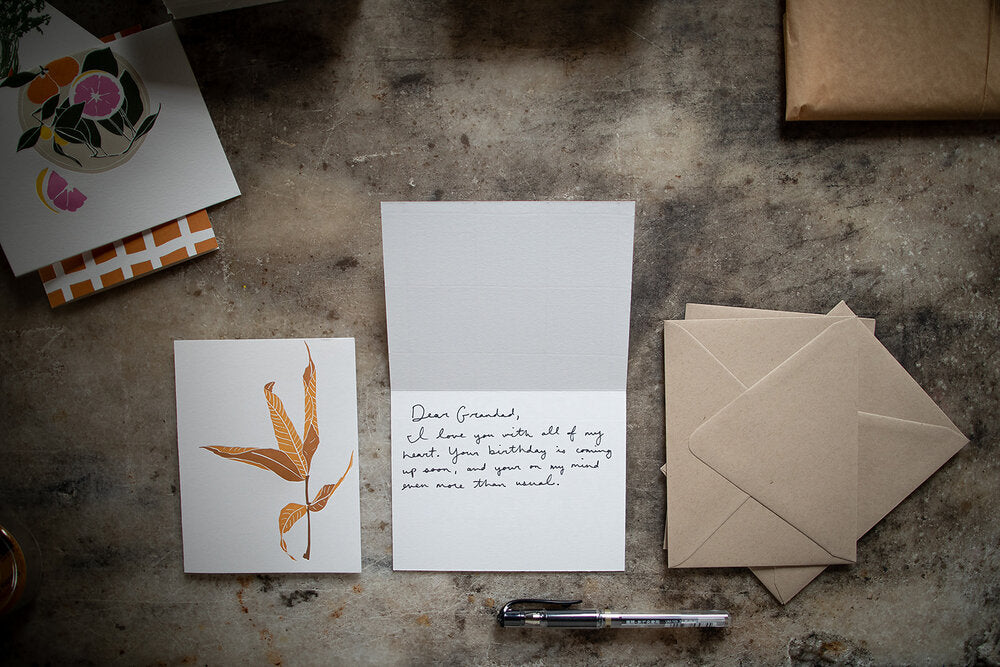
Send as letters and note cards (read more about Letter Writing and #bppletters in this blog post!)
-
Use for pages in a simple DIY notebook
-
Display as wall art
-
Share as a recipe card
-
Place as a liner in a box or drawer
-
Make a paper chain garland to hang in your house
Well, if you’ve made it this far, you’re a trooper! We hope this guide is helpful and gives you the confidence to try something new, explore your creativity, take a mental break from work, the news, everything… and dip into the ancient and beautiful art form that is Suminagashi!
Stay well, friends.
-Megan, Gaëlle, & Katherine


Leave a comment
This site is protected by hCaptcha and the hCaptcha Privacy Policy and Terms of Service apply.